Introduction
When working on multiple tasks, managing windows and applications efficiently can be challenging. If you’ve ever found yourself constantly switching between apps, you’ll benefit from learning how to split screens on Windows. Split-screen features allow you to organize multiple windows on your desktop, making multitasking easy and seamless. Whether you’re using Windows 10 or Windows 11, this guide will show you how to take advantage of these productivity-boosting tools.
What is Split Screen and Why Use It?
Split screen is a Windows feature that enables you to divide your monitor’s display into multiple sections, so you can view different applications simultaneously. This tool is especially useful for multitasking, whether you’re researching, coding, or studying. With split screen, you can, for example, keep a browser window open for research while taking notes in a document, eliminating the need to constantly toggle between applications.
How to Split Screens on Windows 10
In Windows 10, split screen is simple to set up and offers a variety of options for arranging your open windows.
Using Drag and Snap:
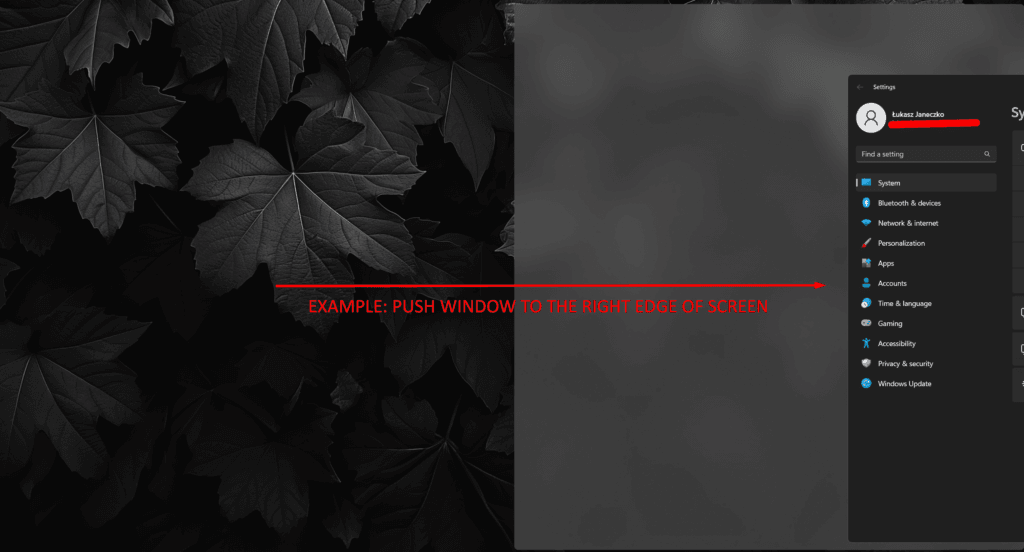
- Drag one of your open windows to either side of the screen until you see an outline showing where it will snap.
- Release the window, and it will automatically snap to occupy half of the screen.
- Windows 10 will then display your other open windows in thumbnail form on the opposite side; click on one to open it in the other half of the screen.
- Drag one of your open windows to either side of the screen until you see an outline showing where it will snap.
Splitting into Four Windows:
- Drag a window to one of the screen’s four corners until it snaps to occupy a quarter of the screen.
- Repeat this with other windows to arrange up to four different windows on the screen.
- Drag a window to one of the screen’s four corners until it snaps to occupy a quarter of the screen.
Using Keyboard Shortcuts:
- Press
Win + Left ArroworWin + Right Arrowto snap a window to either side of the screen. - Use
Win + Up ArrowandWin + Down Arrowto adjust the snapped window to different screen quadrants.
- Press
Windows 10’s snap feature makes it easy to manage multiple apps on one screen, allowing you to switch between tasks without losing focus.
How to Split Screens on Windows 11 (Advanced Techniques Included)
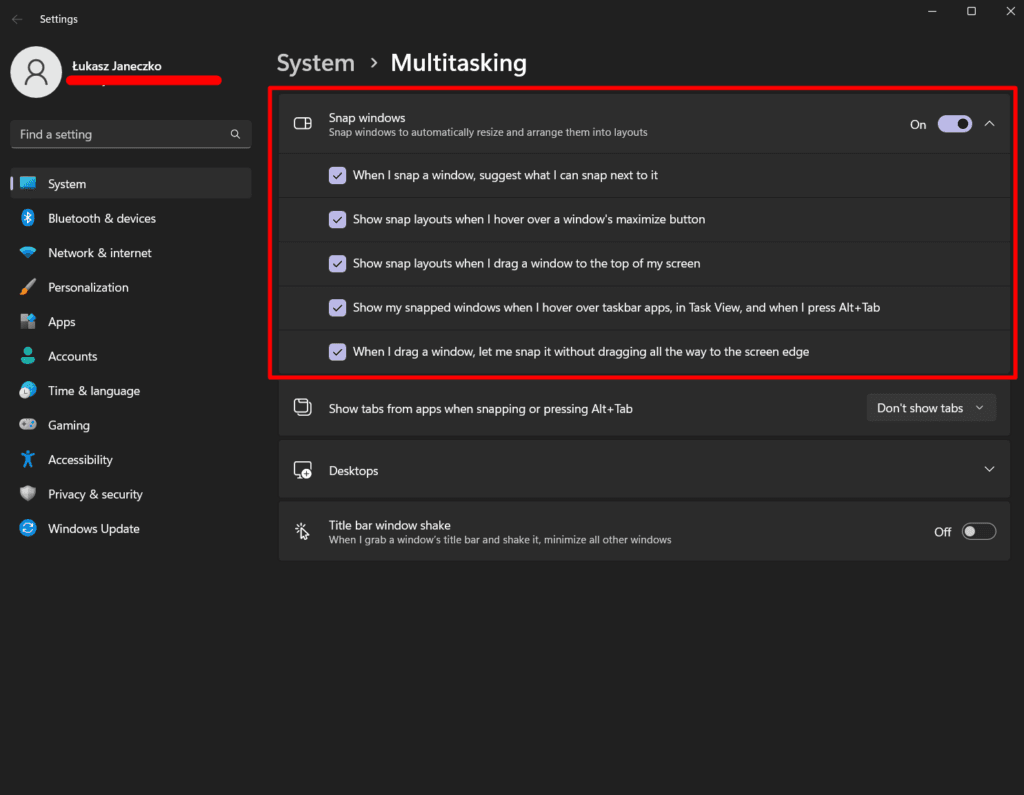
Windows 11 introduces advanced split-screen features that make multitasking even more efficient with the Snap Layouts feature.
Using Snap Layouts:
- Hover over the maximize button in any open window, and a Snap Layout grid will appear.
- Choose a layout from the available options: two, three, or four windows in various configurations.
- Click on the desired position within the layout grid, and Windows will snap the window to that section of the screen. Follow prompts to fill the remaining sections with other open windows.
- Hover over the maximize button in any open window, and a Snap Layout grid will appear.
Snap Groups:
- Snap Groups in Windows 11 allow you to save and easily reopen groups of snapped windows.
- After arranging your windows in a Snap Layout, you can hover over one of the grouped windows in the taskbar, and Windows will give you the option to restore the entire group instantly.
- Snap Groups in Windows 11 allow you to save and easily reopen groups of snapped windows.
Splitting into Quadrants:
- Similar to Windows 10, you can also snap windows into quarters by dragging them to a screen corner or using
Win + Up ArroworWin + Down Arrow.
- Similar to Windows 10, you can also snap windows into quarters by dragging them to a screen corner or using
Advanced Techniques with PowerToys:
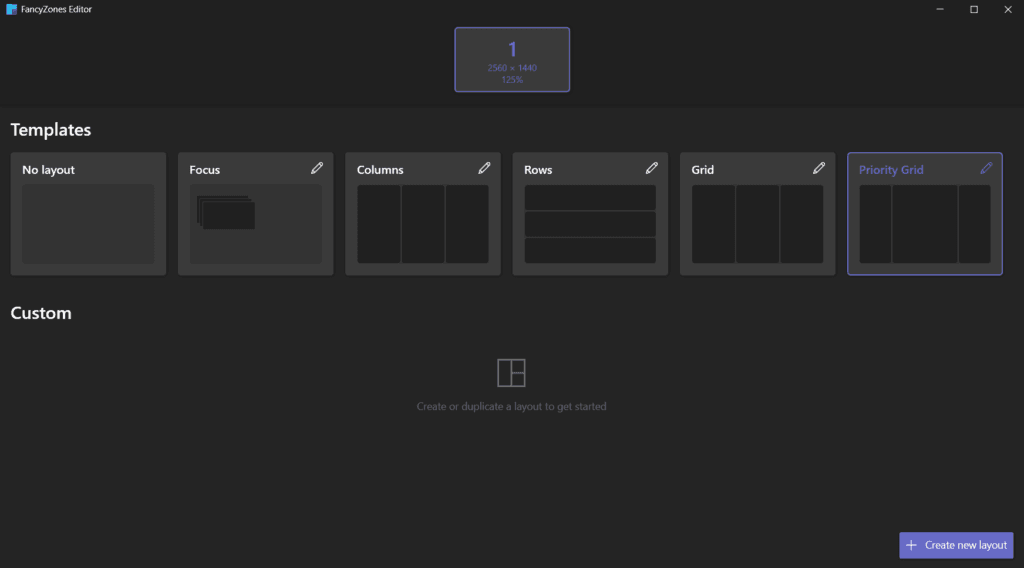
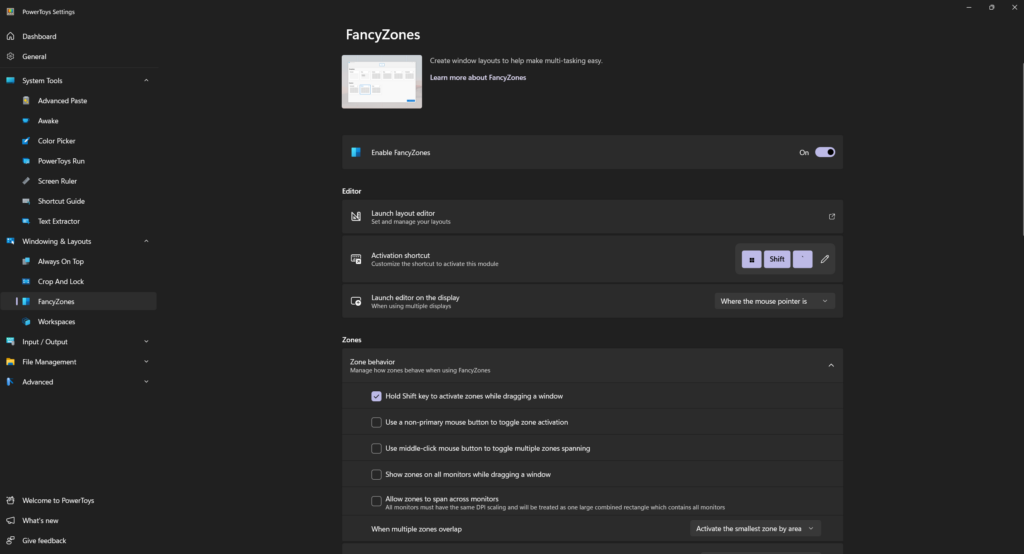
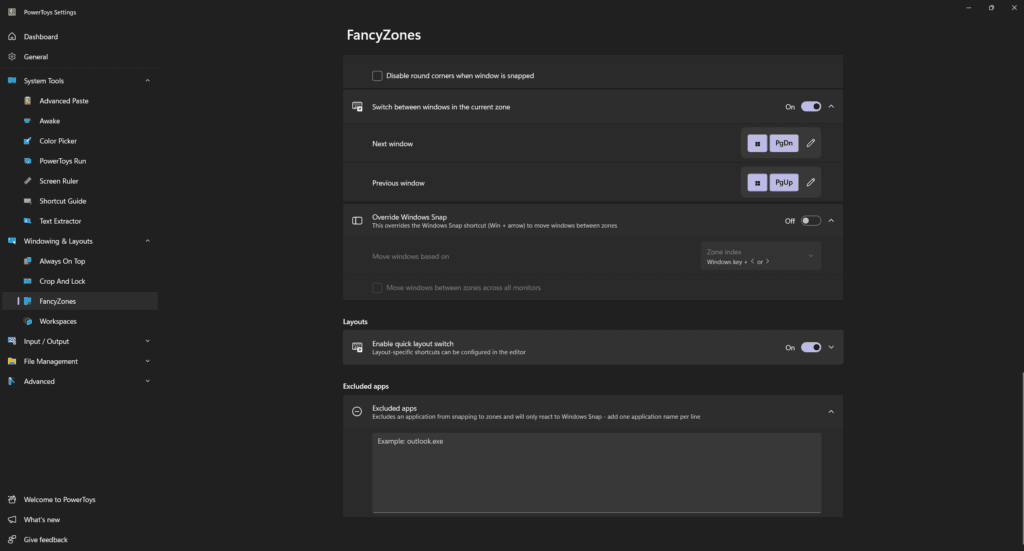
- For more flexibility, consider using Microsoft PowerToys, a tool that includes a feature called FancyZones. FancyZones allows you to create custom layouts and snap windows into any grid configuration you like.
- Information: You can read more about the latest version and features of Microsoft PowerToys here on TechScribe.
Keyboard Shortcuts for Split Screen on Windows
Keyboard shortcuts make using split screen even faster. Here are the essential shortcuts:
- Win + Left Arrow / Right Arrow: Snap the active window to the left or right side of the screen.
- Win + Up Arrow / Down Arrow: Snap the active window to the top or bottom halves.
- Win + Shift + Up Arrow / Down Arrow: Maximize the window vertically or return it to its previous size.
- Alt + Tab: Switch between open windows.
- Win + Tab: Open Task View to manage desktops and switch between windows.
Tips for Effective Split Screen Use
Here are some tips to help you make the most of split screen on Windows:
Use a High-Resolution Monitor:
- A larger monitor with high resolution allows for better clarity when using split screens, making it easier to work with multiple windows.
- A larger monitor with high resolution allows for better clarity when using split screens, making it easier to work with multiple windows.
Master Keyboard Shortcuts:
- Using shortcuts can save time and increase your productivity, especially if you frequently switch between tasks.
- Using shortcuts can save time and increase your productivity, especially if you frequently switch between tasks.
Explore Different Layouts:
- Try various window arrangements to find the best layout for your workflow, such as splitting between two main applications or setting up a quadrant for four different apps.
- Try various window arrangements to find the best layout for your workflow, such as splitting between two main applications or setting up a quadrant for four different apps.
Consider a Second Monitor:
- Using a second monitor doubles your screen real estate, allowing even more flexibility for multitasking and splitting screens across both displays.
- Using a second monitor doubles your screen real estate, allowing even more flexibility for multitasking and splitting screens across both displays.
Experiment with Microsoft PowerToys:
- PowerToys’ FancyZones feature can provide customized layouts that go beyond the standard options, giving you more control over how you organize your screen.
- PowerToys’ FancyZones feature can provide customized layouts that go beyond the standard options, giving you more control over how you organize your screen.
How Split Screen Can Help Different Professionals
Different types of users benefit uniquely from split screens. Here are some examples:
- Developers: Split screen allows developers to code in one window and test their application in another, enhancing workflow efficiency.
- Students: Split screen is ideal for studying; students can research in one window and take notes or write papers in another, simplifying their process.
- Content Creators: Content creators can use split screen to view research material or design inspiration alongside their workspace, keeping their creative flow uninterrupted.
Conclusion
Split screen on Windows is a powerful tool that enhances productivity by allowing users to manage multiple windows efficiently. Whether you’re using Windows 10’s simple snap feature or taking advantage of Windows 11’s advanced Snap Layouts and Snap Groups, split screen makes multitasking seamless. By mastering shortcuts, exploring layouts, and even using tools like Microsoft PowerToys, you can optimize your workflow for any task. Try these techniques today to elevate your productivity and enjoy a more organized workspace.


