Migrating a PrestaShop store can seem daunting, but it’s often necessary to improve performance, gain control, or overcome limitations. This guide will provide detailed steps and expert tips to ensure a successful migration.
Why Migrate PrestaShop to a New Server?
Migrating your PrestaShop store to a new server can be driven by several needs:
- Low Server Performance: A slow server can drastically affect user experience and conversion rates. By moving to a faster server, you can enhance page load speeds and improve overall site responsiveness.
- Disk Space Limitations: As your business grows, so does the demand for storage. If you’re constantly bumping up against storage limits, it might be time to move to a server with more generous space allocations.
- Greater Control Over Server Settings: On shared hosting, you often have limited control over the server environment. By migrating to a dedicated or VPS server, you can configure PHP settings, manage backups, and introduce advanced caching solutions.
- Avoid Hosting Restrictions: Shared hosting often comes with limitations on database connections, memory usage, and script execution time, which could hinder your store’s growth and functionality.
Steps to Migrate PrestaShop
1. Backup Your Store
Before starting the migration, create a full backup of your store.
- Files Backup: Use a tool like FileZilla to download all your PrestaShop files from the current server.
- Database Backup: Use phpMyAdmin. To export the database, go to phpMyAdmin, select your database, click “Export”, select “Quick”, and choose SQL as the format.
Store these backups securely in multiple locations (e.g., an external hard drive and a cloud storage service).
2. Archive PrestaShop Files
Compress your store’s files to an archive to facilitate easy transfer.
Using SSH: Connect to your server via SSH and use the following command:
$ tar -czf prestashop_archive.tar.gz /path/to/prestashop
This command creates a .tar.gz archive of your PrestaShop files.
- Using a Control Panel: Many hosting providers offer web-based control panels from which you can select and compress files.
3. Export the Database
Export your PrestaShop database to ensure all data is transferred.
- phpMyAdmin: In phpMyAdmin, select the database, click “Export”, choose the “Custom” option if you need specific configurations, and save the file as SQL or SQL.GZ.
Command Line: If you have SSH access, use
mysqldump:$ mysqldump -u username -p database_name > database_backup.sql
4. Prepare the Destination Server
Ensure the new server environment is configured appropriately:
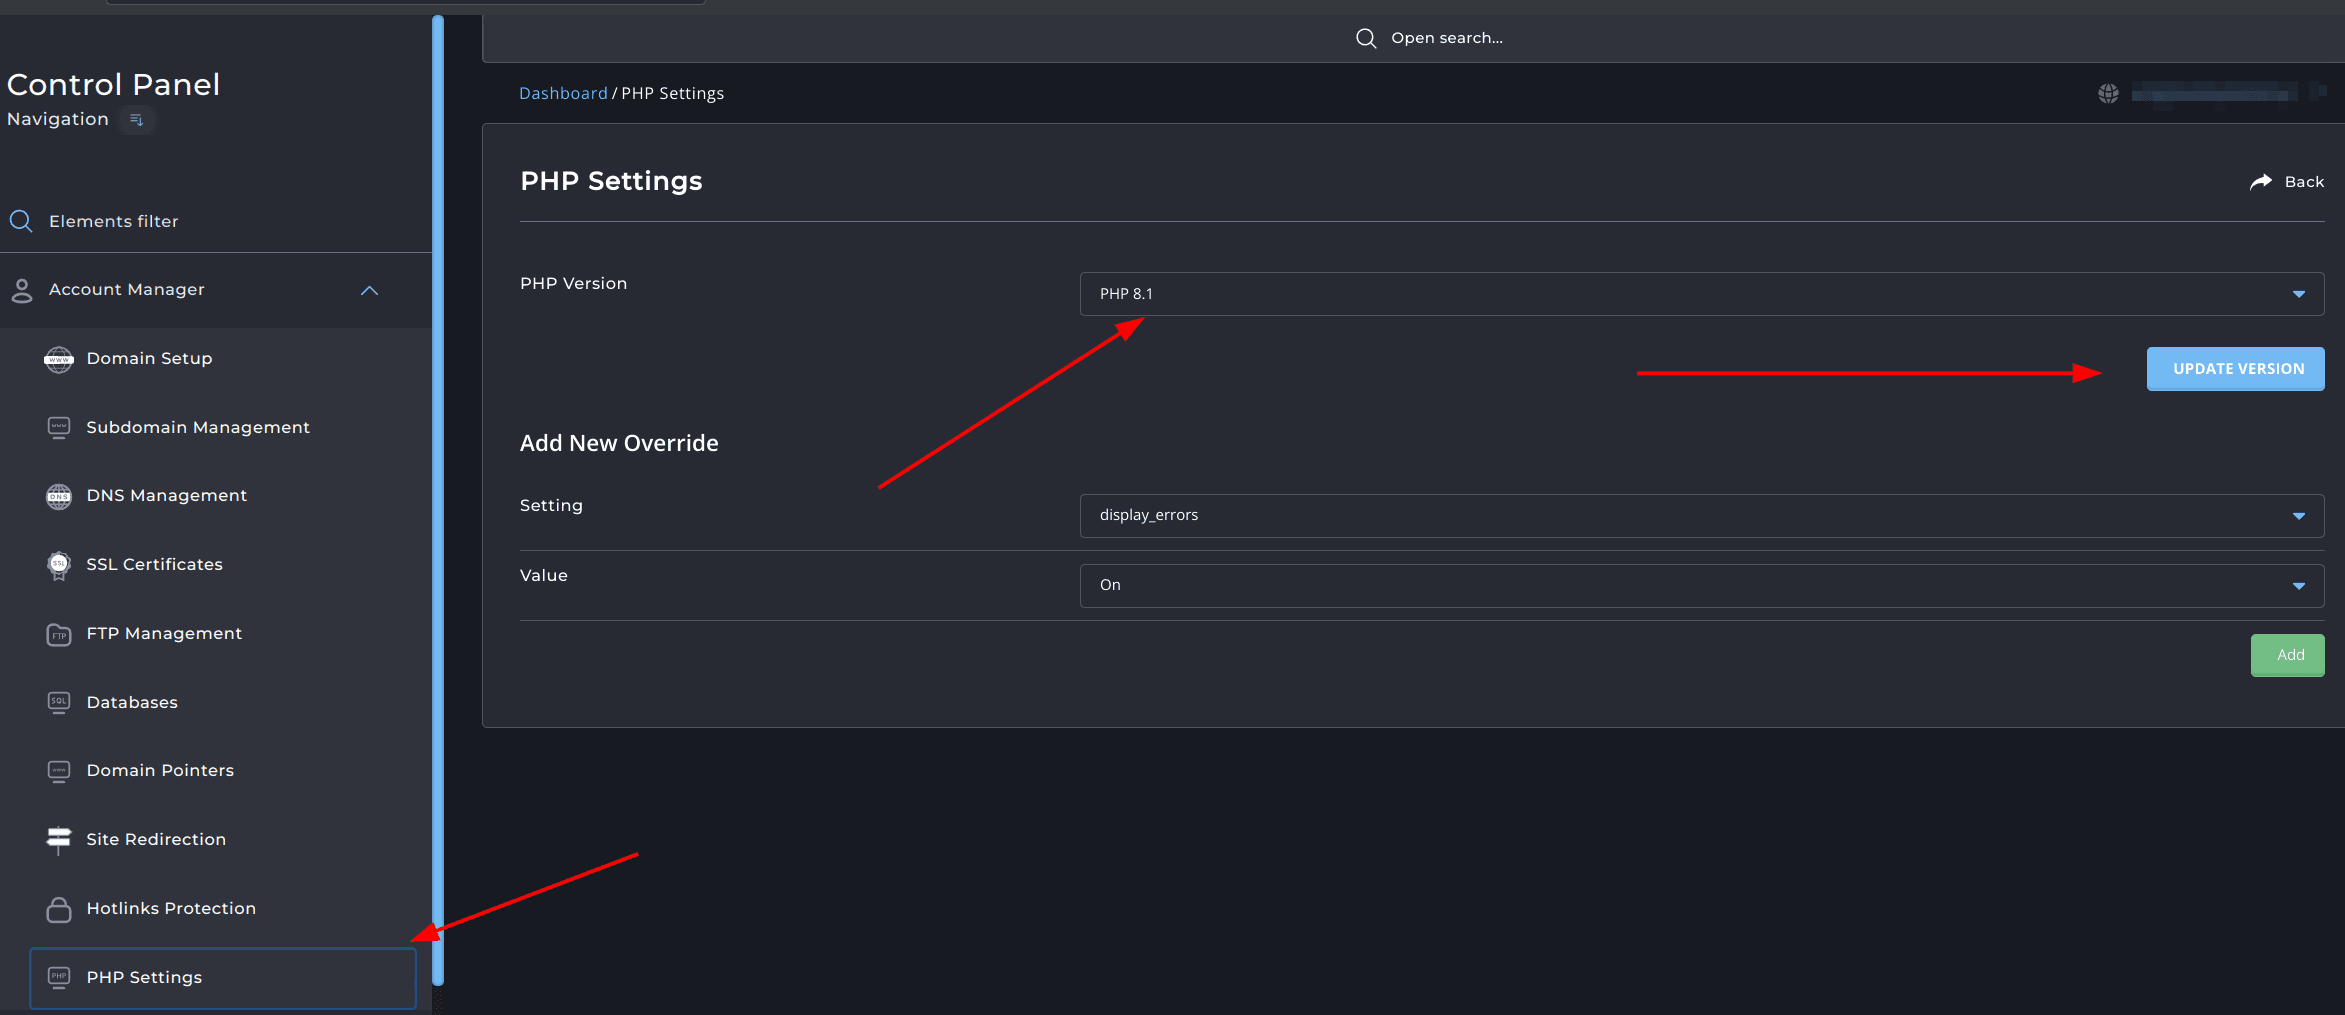
- PHP Configuration: Install and configure the PHP version that is compatible with your PrestaShop version. This can usually be managed in the hosting control panel or by contacting support.

- Update DNS Records: Modify the DNS settings of your domain to point to the new server’s IP address. This change might take a few hours to propagate globally.
5. Transfer Files to the New Server
Using SSH and rsync can make the transfer process efficient:
Transfer using
rsync:$ rsync -avz /path/to/prestashop_archive.tar.gz user@newserver.com:/path/to/destination
This command securely transfers files directly between servers.
- FTP Alternative: If SSH is not available, use an FTP client to download the archive to your local machine, then upload it to your new server.
6. Unpack the Files
After transferring, you need to unpack the archive on the new server:
SSH Unpack: Connect to your new server terminal and use:
$ tar -xzf prestashop_archive.tar.gz -C /path/to/destination
7. Update PrestaShop Configuration
Point PrestaShop to the new database server:
- Locate
/app/config/parameters.php. - Update
'database_host','database_name','database_user', and'database_password'to match the new database credentials.
8. Import the Database
Import the exported database to your new server’s database system:
- phpMyAdmin: Use “Import” to load your existing SQL file.
Command Line:
$ mysql -u username -p database_name < database_backup.sql
Ensure you correct the ps_store_url table to reflect the new domain, if applicable.
Common Issues and Solutions
- 500 Internal Server Error: This can happen due to issues with cached data or incorrect file paths after migration. To resolve it, you can try renaming the
/vardirectory: $ mv /path/to/prestashop/var /path/to/prestashop/var_old
This forces PrestaShop to regenerate cache directories and can often resolve internal server errors.
Incorrect PHP Version: If the version of PHP on the new server does not match that required by your version of PrestaShop, you may encounter compatibility issues. Ensure that the correct PHP version is installed and configured by checking your hosting environment or asking your hosting provider for assistance.
Image Display Problems: After migration, you might find that product images are not displaying correctly on the front-end:
Go to the PrestaShop back office and navigate to SEO & URLs.
- Temporarily disable the “Friendly URL” option and save changes.
- Re-enable “Friendly URL” and save again.
- Navigate to Advanced Parameters > Performance and clear the cache.
These steps force a refresh of the URL rewriting rules and cache, which can help images and other resources display correctly.
By carefully following these steps and addressing any common issues swiftly, you can successfully migrate your PrestaShop store to a new server with minimal downtime and disruption. Always ensure you have tested the new server environment thoroughly before making it live to catch any potential errors early on.
Resources
- PrestaShop Official Documentation
- phpMyAdmin Documentation
- Apache HTTP Server Documentation
- Linux tar Command Usage
- rsync Command Manual
Following this detailed guide can make your PrestaShop migration a smoother process. By addressing potential errors and ensuring a robust backup strategy, you safeguard your e-commerce store from common pitfalls. Remember to conduct thorough testing on the new server setup before fully transitioning to ensure everything operates smoothly. Happy migrating!


